
Faux Beam Mantel

After regrouting my fireplace and replacing my TV frame, I had one last thing on my list to completely change the vibe of my fireplace… a faux beam mantel. This final step completed the transition to a more cozy, updated vibe. This project was fast, easy and affordable ($60!). My favorite kind!
Materials:
The exact materials will depend on the measurements of your existing mantel. Mine was 8”L x 48” W x3” deep. I used the following materials-
(1) 1x6- 8 ft- $23.34
(1) 1x10- 10 ft- $27.72
Minwax Stain (I chose Early American)- $8.98
Finish nailer and finish nails
Wood filler
Cloth or sponge for stain application
Sand paper or rotary sander
Construction adhesive
Total cost: $60.04

Before


How To:
Measure your existing mantel carefully!
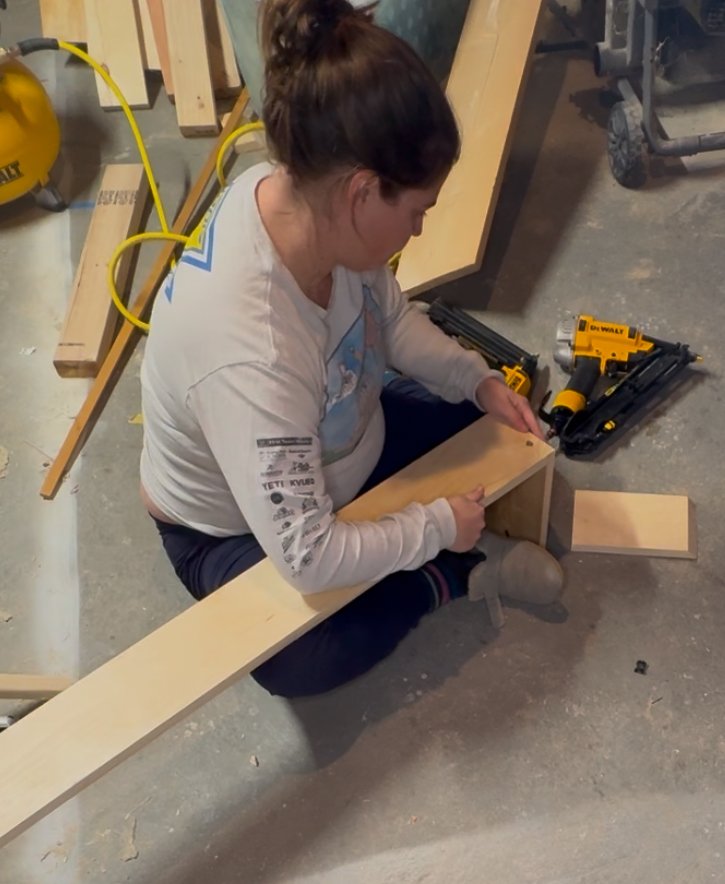
Cut the 1X6 board to form the front and sides of the beam. I erred on the side of a little larger than I needed, since there is no issue with the beam being slightly larger than the existing mantel, and this will make it easier to slide on. My cuts were 2x 9” pieces and 1x50.5” piece. The sides will have one flat edge and one mitered edge (45 deg), and the front will have miter cuts on either side (45 deg).
Line up the mitered edges on your front and side pieces and nail into place. Double check to ensure this will fit around your existing mantel.
Measure in between the two sides of your frame. Cut the 1x10 into two equal lengths to fill in the top and bottom (mine were 49”). These are straight (0 deg) cuts. Align the two boards inside the side and front pieces and nail in place to form the top and bottom of the beam. Try to make sure they are as flush as possible wit the front and side boards.
Wood fill all nail holes and joints between the boards. Let dry them sand thoroughly. Try to remove as much wood filler as possible so the stain goes on evenly.
Apply stain.
Apply a thin bead of construction adhesive to the back edges of the boards. Press firmly onto your fireplace.